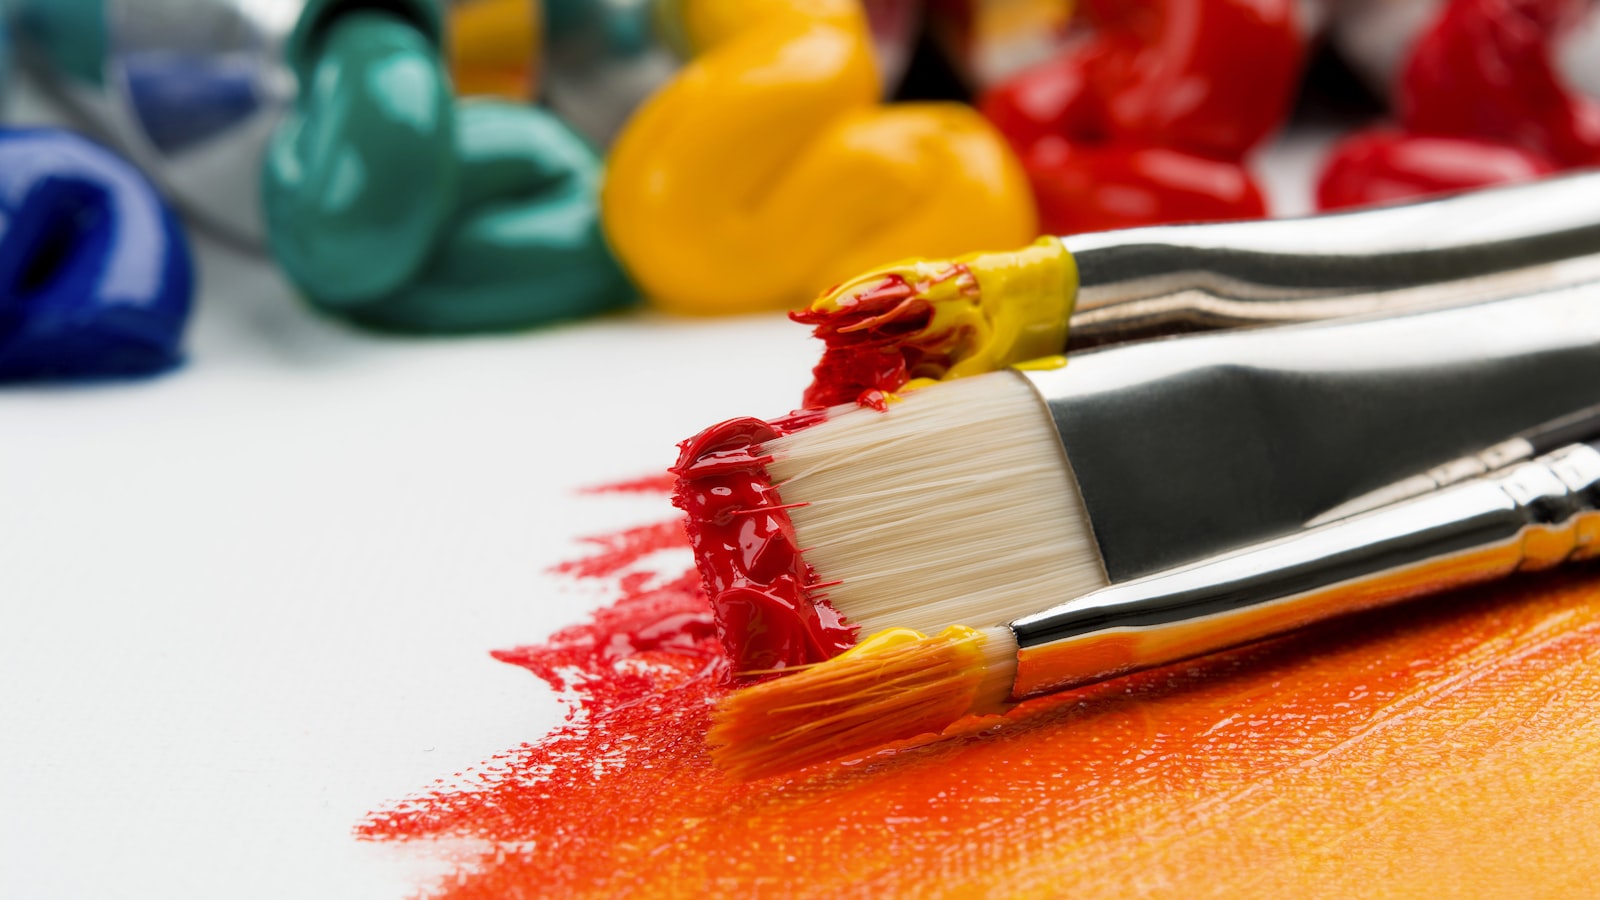
A good brush is a small thing that makes a big difference. It holds paint or glue evenly, releases it smoothly, and gives you control that a cheap, splayed brush simply can't. Yet brushes are also the most neglected tool in most craft collections — used, half-rinsed, and left in a jar of murky water until the bristles fan out, the paint sets like concrete, and the brush is quietly ruined.
The frustrating part is that this is entirely avoidable, and it takes only minutes. A brush that's cleaned properly and stored with a little care can last for years and keep performing like new, while an identical brush treated carelessly is done within weeks. Caring for brushes isn't fussy craftsmanship; it's basic maintenance that saves you money and keeps your work clean. Here's how to do it right.
Clean them before the paint dries#
The single most important habit is speed. Paint and glue are easy to remove while wet and nearly impossible once dry, so clean a brush as soon as you're done with it, not later. The longer wet media sits in the bristles, the deeper it works toward the metal ferrule, and dried paint at the base is what splays a brush permanently.
How you clean depends on what you were using. Water-based media — most craft paints, watercolor, PVA glue — rinse out with warm water and a little mild soap. Work the soap gently through the bristles, rinse until the water runs clear, and pay attention to the base near the ferrule, where color loves to hide. Oil-based paints need the solvent the paint specifies, followed by soap and water; never use water alone on oils and expect it to work.
Be gentle throughout. Bristles are delicate, and scrubbing hard or bending them against the sink flattens and breaks them. Let the soap and water do the work with light pressure, and give the brush the few extra seconds it takes to come fully clean rather than half-rinsing and hoping.
The mistakes that wreck brushes fastest#
Most ruined brushes die from a small handful of avoidable habits. Knowing them is half the battle, because each one is easy to stop once you've noticed it.
- Leaving a brush standing in water bends the bristles against the bottom of the jar and can loosen the glue in the ferrule as water seeps in.
- Letting paint dry in the bristles sets hard and splays the brush, often beyond rescue.
- Scrubbing or jamming the brush to work paint out breaks and flattens the delicate tips.
- Drying a brush bristle-up lets water run down into the ferrule, loosening the bristles over time.
If you take away one rule, make it this: never rest a brush on its bristles, whether in water or on a table. That single habit destroys more brushes than everything else combined.
The water-jar habit is the most common of all, because it feels harmless during a session. Rest brushes across the top of the jar or lay them flat instead, and rinse them fully the moment you're finished rather than parking them point-down for an hour while you tidy up.
Reshape, dry, and store#
Cleaning is only half the job; how you finish and store a brush decides whether it keeps its shape. Once a brush is clean, a short routine keeps it in good order.
- Gently squeeze out excess water from base to tip with your fingers or a cloth.
- Reshape the bristles into their original point or edge while they're still damp.
- Lay the brush flat or hang it bristle-down to dry, never standing on its bristles.
- Store it upright handle-down, or flat, once it's completely dry.
Reshaping while wet is the step people skip and later regret. Bristles dry into whatever shape you leave them in, so a few seconds spent drawing them back to a neat point or a clean chisel edge means the brush dries ready to use. Skip it and the brush dries fanned and forked, and no amount of careful painting will give you a crisp line again.
Drying position matters more than it seems. A brush dried bristle-up lets the last of the water trickle down into the ferrule, and over many cycles that water loosens the glue holding the bristles, until the brush starts shedding. Flat or bristle-down keeps water away from the base. Once fully dry, store brushes so nothing presses on the bristles — upright in a jar handle-down, or flat in a tray or roll. Good tool storage is part of a wider habit, and our guide to how to store craft supplies in a small space covers keeping brushes and everything else in reach without clutter.
Making good brushes last#
With the basics in place, a few extra touches stretch a brush's life even further. Keep your best brushes for the work that deserves them and use cheaper ones for rough jobs — spreading thick glue, stippling texture, dabbing at surfaces that would chew up a fine tip. A dedicated "abuse" brush protects your good ones the same way a sacrificial pair of scissors protects your sharp ones.
If a brush does dry with a little paint hardened in it, don't throw it out straight away. Water-based paint can often be softened by soaking just the bristles — not the whole brush, and never the ferrule — in warm soapy water for a while, then gently working the loosened paint free with your fingers. It won't rescue a brush that's set rock solid, but it saves plenty that look worse than they really are.
Match the brush to the task, too. Using a delicate watercolor brush to push heavy craft glue around wears it out fast and does the job badly; a stiff, cheap brush handles glue better and costs nothing to replace. When you do invest in a quality brush, treat that investment as a reason to care for it well, not an excuse to be precious and never use it. Brushes are made to be used — they just want to be cleaned afterward. If you're still assembling your basics, our guide to how to build a starter craft kit on a budget shows where brushes fit alongside the other essentials.
None of this takes real effort once it's a habit. Clean promptly, never rest on the bristles, reshape while damp, dry away from the ferrule, and store so nothing crushes the tip. Give a brush those few minutes and it repays you with years of clean lines and smooth coverage; deny them and you'll be buying the same brush again by next month. The tidy end to any session isn't a chore — it's the reason tomorrow's work goes smoothly.